This post contains affiliate links. We may earn a commission at no extra cost to you. Thank you for your support!
Creating a giveaway with Woorise is a straightforward way to engage your audience, increase brand awareness, and build a stronger online presence.
Whether you’re organizing a contest to boost social media interactions or launching a campaign to generate leads, giveaways can drive impressive results when done strategically.
Why Create a Giveaway with Woorise?
Woorise, which currently offers a 14-day free trial, makes designing interactive campaigns quick and user-friendly. Social media giveaways, in particular, are known to enhance audience engagement, grow your follower base, and create buzz around your brand.
Research shows that well-executed contests can significantly increase website traffic and even convert leads into loyal customers by providing value upfront through enticing prizes.
Key Strategies for Success
- Set Clear Goals: Decide whether your primary aim is to increase social media followers, collect email leads, or promote a new product. Align your giveaway’s mechanics with these objectives.
- Target the Right Audience: Tailor your giveaway to resonate with your target demographic by offering prizes that they find valuable. This ensures high-quality engagement.
- Comply with Legal Guidelines: Clearly define the rules and eligibility criteria, and ensure your campaign adheres to local laws and platform-specific guidelines.
- Promote Widely: Share your giveaway across multiple platforms, including social media, email, and even partnerships with influencers to maximize visibility.
- Measure Impact: Use tools to track participation, engagement, and conversions to understand your campaign’s success and refine future efforts.
For more detailed insights and best practices, check out guides like the one from Jetpack on 30 Social Media Contest & Giveaway Ideas to Skyrocket Engagement and Digital Marketer’s tips on Maximizing Impact with Strategic Giveaways. Both offer practical advice on how to optimize your campaigns for the best results.
In this guide, I’ll show you how to leverage Woorise’s powerful platform to create your own winning giveaway in just a few minutes. Let’s dive in!
Step 1: Sign Up for a Free Woorise Account
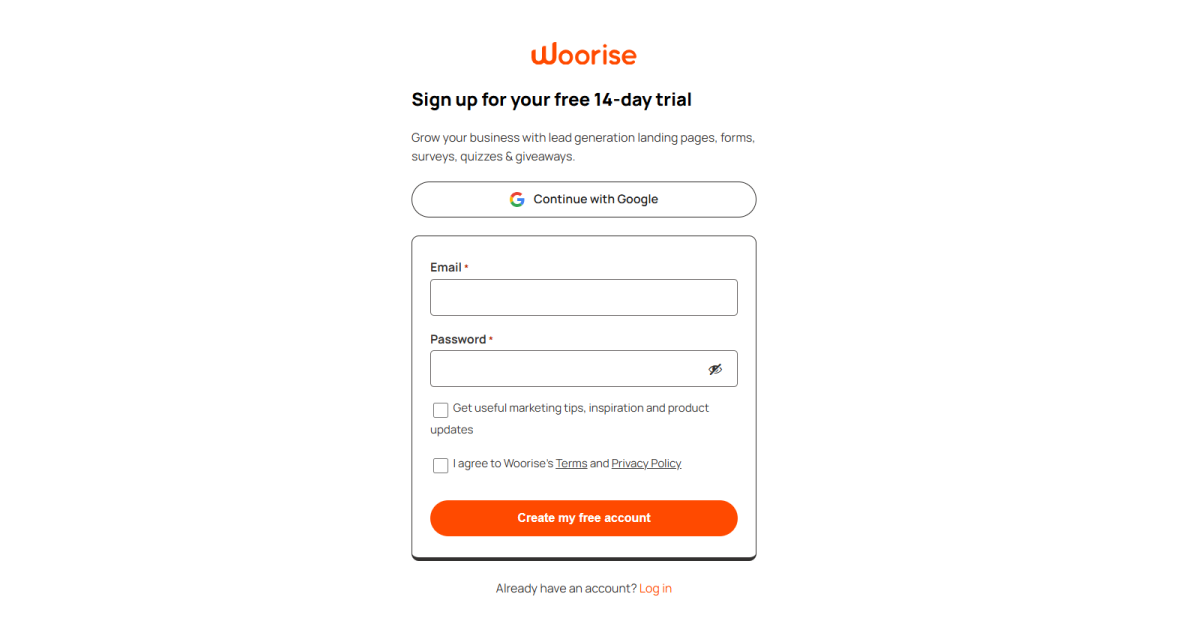
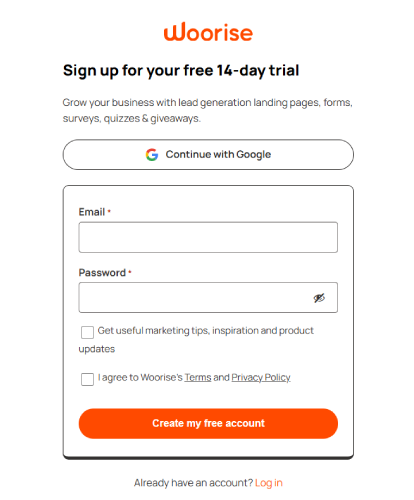
Go to the Woorise website at woorise.com, click on “Start for Free” in the top right corner of the homepage, sign up for a free 14-day trial and fill out the form.
Step 2: Create Your First Woorise Site
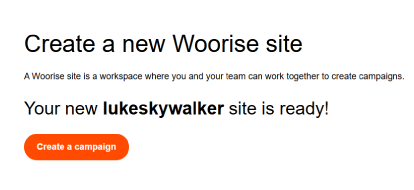
After you create your account and log in, Woorise will prompt you to create your first website. Enter your name and the name of your website. This will be used to generate your free URL for your website (for example: https://woorise.com/lukeskywalker/).
Next, you’ll need to create your first campaign. Click “Create a campaign” to get started.

Step 3: Select a Template For Your Site
Choose a Woorise template that suits your needs or click the button “Start From Scratch” at the top.
If you select a template, select the button in the top-right corner “Use this template” to implement this layout on your site.
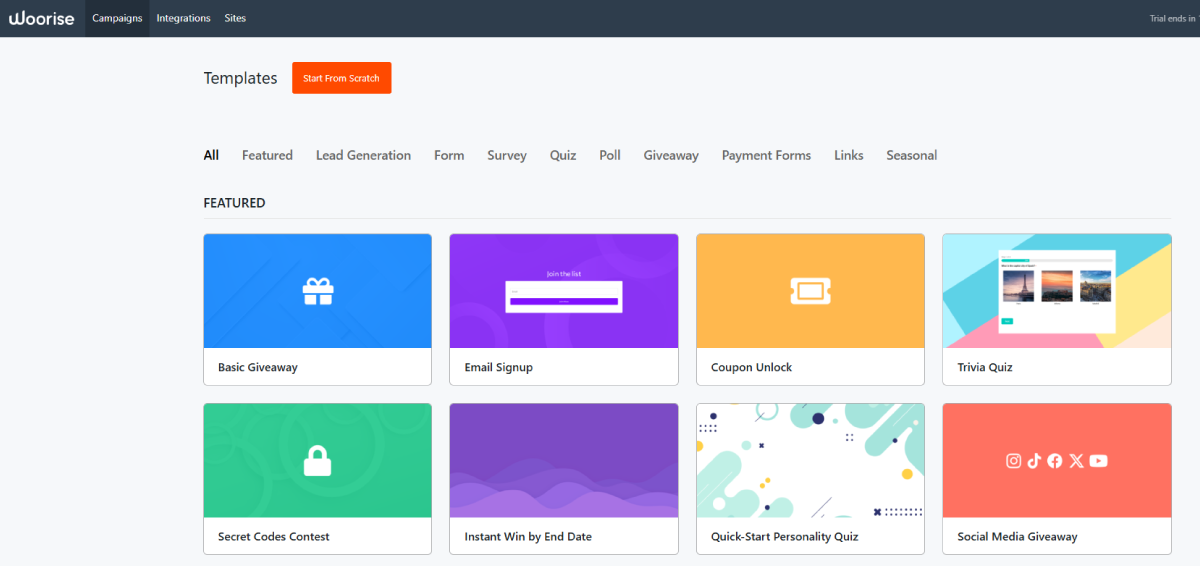
Step 4: Customize Your Design
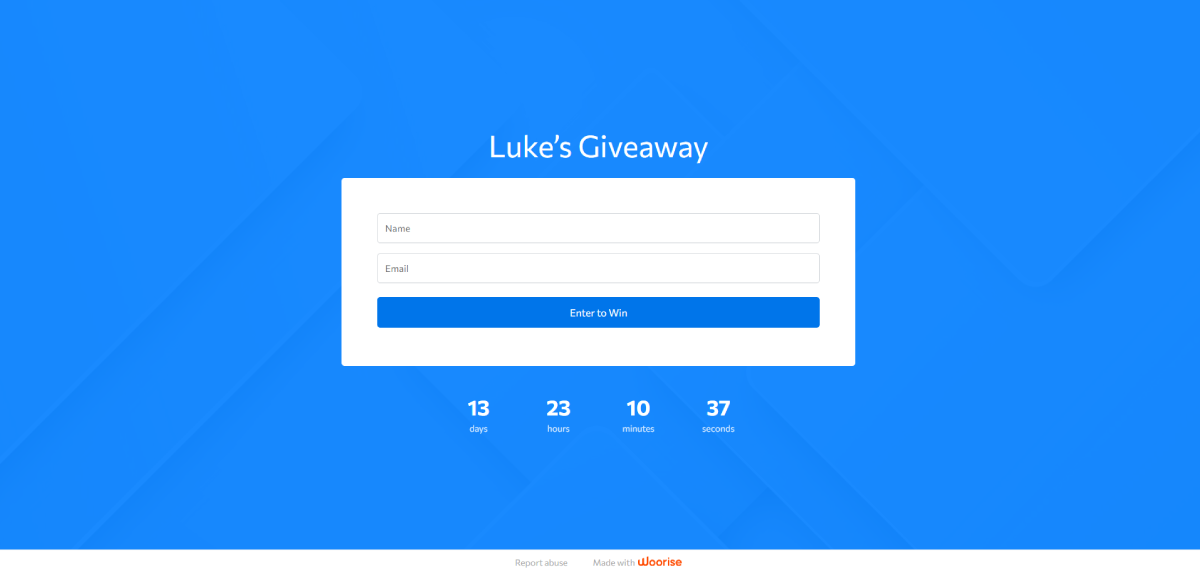
In this example, I selected the “Basic Giveaway” template. Once you’re in edit mode, you can customize the title, font, colors, and images. Make as many customizations as you’d like and once you’re ready to launch, click the “Publish” button at the top-right of your screen.
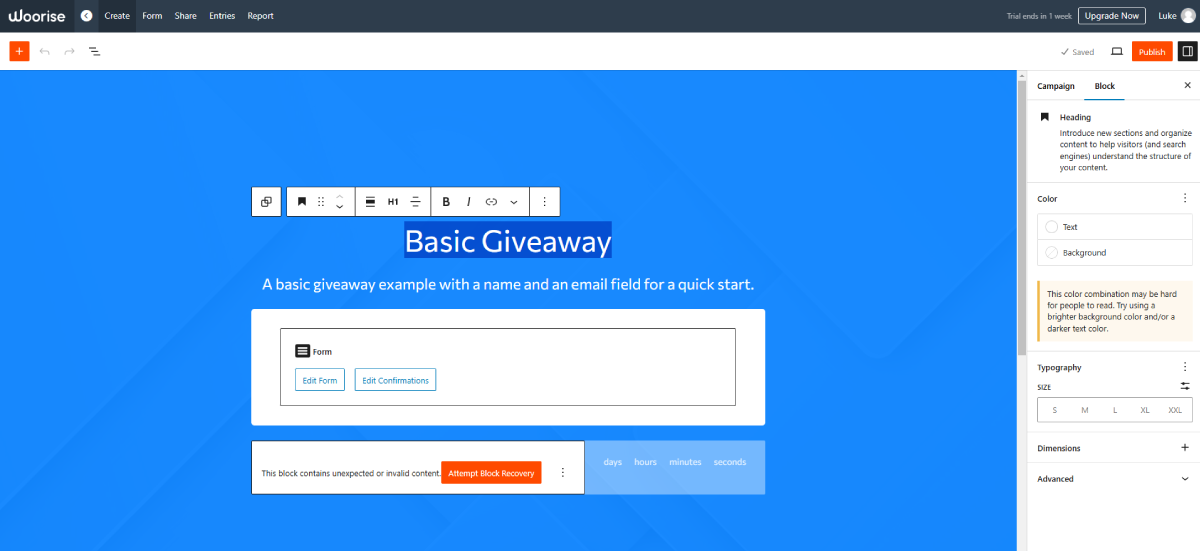
Step 5: Customize Your Giveaway Settings
In this “Basic Giveaway” example, you can customize your giveaway settings on the right-hand side of the screen.
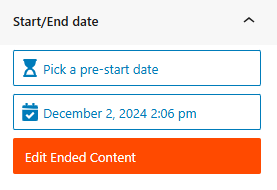
Start/End Date
Pre-start date – the start date for your giveaway
End date – the date your giveaway will end
Click the “Edit Ended Content” to edit the content that will show when the giveaway has ended.

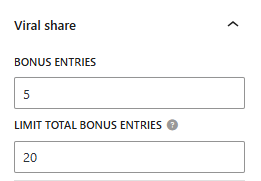
Viral Share
Bonus Entries – the number of extra entries awarded to entrants who share your giveaway.
Limit Total Bonus Entries – limit the number of bonus entries an entrant can obtain (optional)

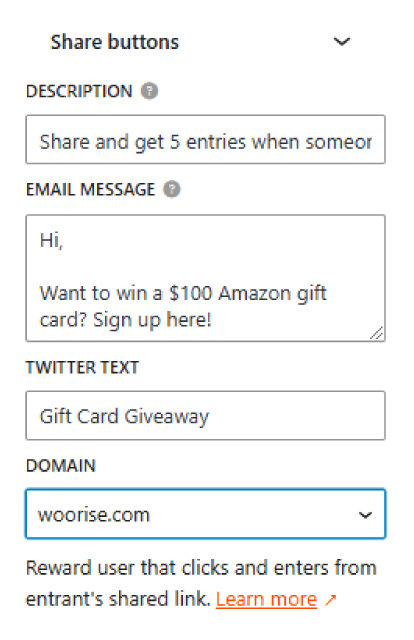
Share Buttons
Description – Description shown above the share buttons
Email Message – Pre-filled email text when “Email” share button is clicked
Twitter Text – Pre-filled text shown when “Twitter” share button is clicked
Domain – Domain used in the share link

Step 6: Customize Form Settings
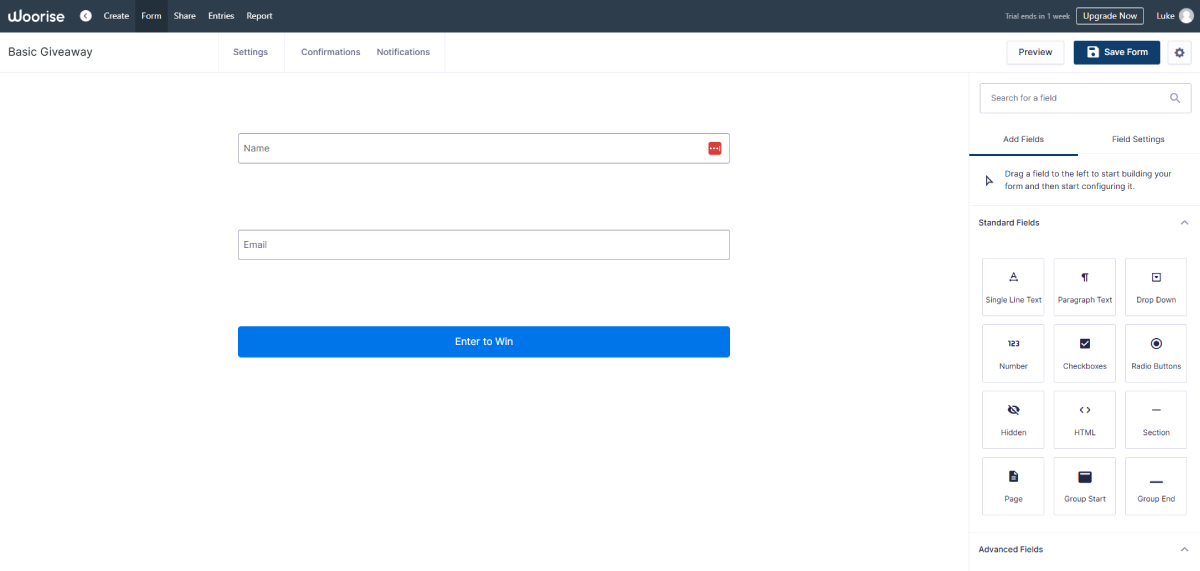
You can also customize your form settings and edit or add additional fields, styling, confirmation messages, and notifications.
Click “Edit Form” near the middle of your screen.
Click “Save Form” (top right) when you’ve finished editing your form.
Step 7: Publish
Once you’ve fully edited your form and giveaway, you’re ready to publish. Click “Save draft” or “Publish” (top right).
Then, click the “box and arrow” icon near the save button to view your giveaway.
Note: copy and paste your URL into an incognito browser to view your giveaway without your Woorise account settings banner.
